🎶 Live Music Streaming Setup Series
Whether you’re jamming from home or collaborating with musicians remotely, this series covers everything you need to stream live music like a pro:
- 🎛️ How to Stream a Live Band Performance from Home
- 🌍 Virtual Jam Session Tools for Remote Musicians
- 📱 How to Stream Live Music on Twitch, YouTube & Instagram
Explore each guide to build a powerful and flexible music streaming setup—whether you’re solo or performing with a group.
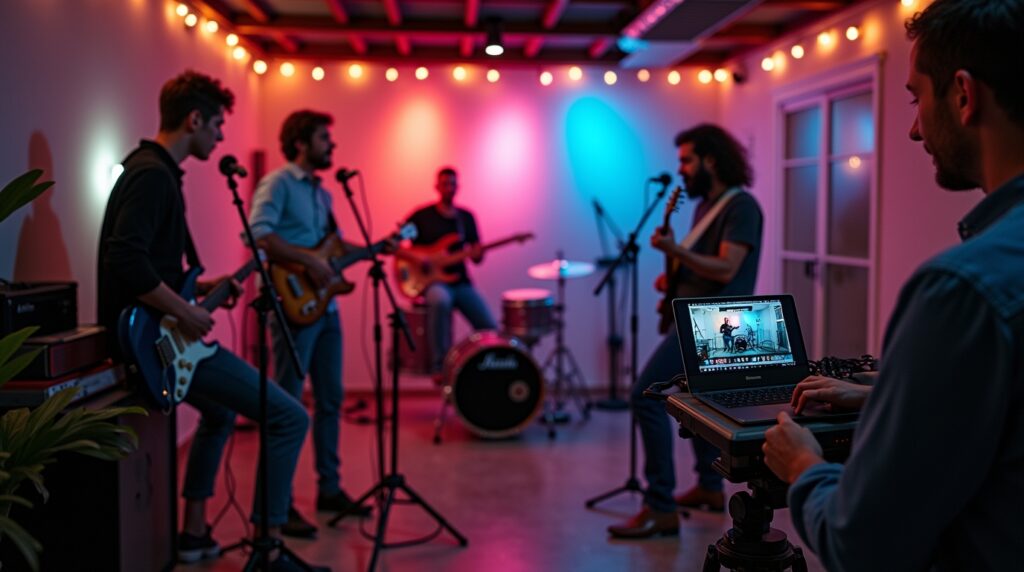
Want to take your band online? Learning how to stream a live band performance from home lets you reach a global audience, share your energy in real-time, and even generate income—without booking a venue. In this guide, you’ll learn the gear, setup, and software needed to stream a great-looking and great-sounding performance from your own space.
What Is Live Band Streaming?
Live band streaming means broadcasting your group’s performance—rehearsals, concerts, or jam sessions—online through platforms like YouTube, Twitch, Facebook Live, or Instagram Live. It brings the stage to your fans, wherever they are.
Why Stream Your Band Performance?
- 🎤 Reach fans worldwide
- 💰 Monetize via tips, donations, merch, and memberships
- 🎥 Build content for social platforms
- 👥 Strengthen your fanbase through interaction
- 📆 Perform more often without tour costs
Whether you’re a cover band, indie group, or jazz quartet, live streaming gives you exposure and engagement—all from your practice room.
What You’ll Need to Stream a Band from Home
Here’s a basic setup to get started:
🎧 Audio Gear
- Audio interface with enough inputs (e.g. Focusrite Scarlett 18i20 or Behringer UMC1820)
- Mics for vocals and instruments (dynamic for drums, condenser for vocals)
- Mixer for balancing levels
- Cables and stands for mic and instrument connections
📷 Video Gear
- One or more cameras (DSLR, mirrorless, webcam, or even phones)
- Capture card (if using DSLR/mirrorless)
- Tripods or camera mounts
- LED lights to brighten the room (soft, even lighting)
💻 Software & Connectivity
- OBS Studio or Streamlabs for streaming
- Stable internet (minimum 10 Mbps upload; wired Ethernet preferred)
- Platform account (YouTube, Twitch, etc.)
How to Set Up Your Live Band Stream (Step-by-Step)
1. Audio Setup
- Plug all mics and instruments into a mixer or multi-input audio interface.
- Balance levels to avoid clipping or distortion.
- Route final audio mix into your computer via USB or line-in.
- Monitor sound with studio headphones.
2. Video Setup
- Position cameras to show the full band or individual performers.
- Use OBS to switch angles if you have multiple sources.
- Set resolution to 720p or 1080p for best quality.
3. OBS Configuration
- Add audio input from your interface.
- Add video sources (webcams or capture cards).
- Create scenes for wide shots, close-ups, or overlays.
- Link your streaming platform using the Stream Key.
- Test everything before going live.
4. Stream!
- Promote your stream ahead of time.
- Go live 5–10 minutes early with a “Starting Soon” screen.
- Interact with viewers in chat between songs.
Tips to Improve the Experience
- 🎚 Use a compressor or limiter to manage loud dynamics.
- 🎶 Add background visuals or overlays in OBS for branding.
- 🎥 Consider one overhead shot and one wide front shot.
- 🧼 Declutter your room for a clean look.
- 🗓 Stream regularly to build an audience.
Streaming Platform Recommendations
🎬 YouTube Live
- Best for concert-like experiences
- Supports high-quality audio
- Schedule streams and monetize with ads & Super Chat
🎮 Twitch
- Ideal for regular performances or jam sessions
- Interactive chat and tipping features
- Popular among music streamers
📱 Facebook Live / Instagram Live
- Great for reaching existing followers
- Easier mobile access but lower audio quality
🎧 Want to jam with others remotely? Check out our guide on virtual jam sessions for musicians.
📡 Streaming across platforms? Explore how to go live on Twitch, YouTube, and Instagram for music.
FAQ
You can, but the sound will be low quality. Use proper audio gear for a better fan experience.
One is enough to start, but two or three can add variety and professionalism.
Use a multi-input interface and control audio levels in your DAW or OBS.
Platforms like YouTube and Twitch monitor for copyrighted material. Use original songs or check the platform’s guidelines.
💡 Explore More:
For gear recommendations to improve your live band streaming, check out our reviews in the 🎥 Streaming Gear & Tech section.
Final Thoughts
Learning how to stream a live band performance from home lets you turn your rehearsal space into a digital stage. With the right gear, OBS setup, and a strong internet connection, you can deliver great audio and video to fans across the globe. Start simple, stay consistent, and let your band’s energy shine online.
📚 Want the full picture? This article is part of our Live Music Streaming Setup Series, covering everything from home band performance to remote jam sessions and streaming across platforms.