Looking to bring your music to the world? In this step-by-step guide, you’ll learn how to set up OBS for live music streaming—perfect for musicians who want to perform live on platforms like YouTube, Twitch, or Facebook Live. Whether you’re a singer, guitarist, or full-band artist, this guide will help you create a professional stream with great sound and visuals.
What Is OBS and Why Musicians Use It
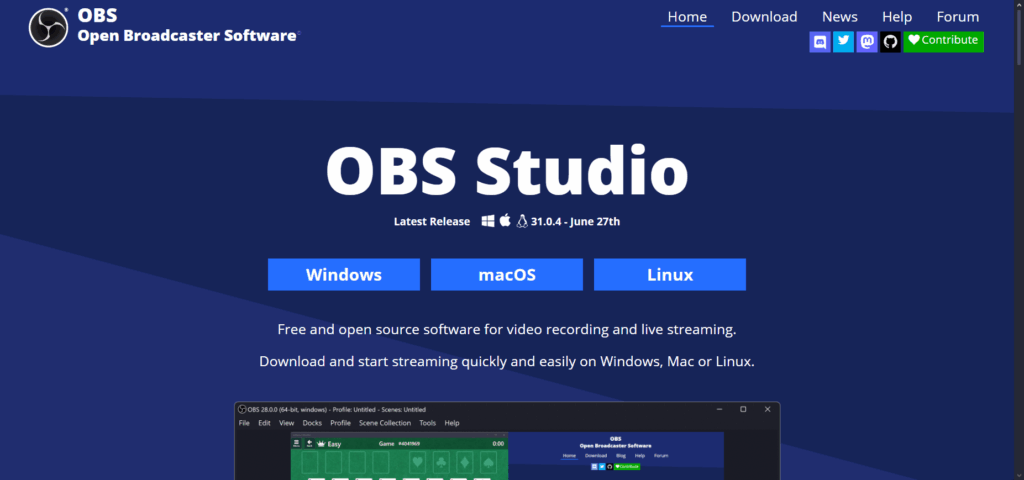
OBS Studio (Open Broadcaster Software) is a free, open-source app for live streaming and recording. It lets you combine video, audio, scenes, overlays, and more into one seamless broadcast.
Why it’s ideal for musicians:
- Free and powerful: No cost, tons of features
- Scene control: Switch between camera angles, lyrics, or visuals
- Audio control: Route mics, instruments, and backing tracks
- Cross-platform: Works on Windows, Mac, and Linux
What You Need Before Starting
Before setting up OBS, make sure you have:
- A reliable computer (quad-core CPU or higher)
- A good microphone (USB or XLR with interface)
- Webcam or DSLR (for high-quality video)
- Audio interface (if using XLR mics or instruments)
- Streaming account (YouTube, Twitch, etc.)
- Optional: Ring light, green screen, MIDI controller, or Stream Deck
Step-by-Step: Setting Up OBS for Live Music Streaming
🔹 Step 1: Download and Install OBS Studio
- Visit obsproject.com and choose your OS.
- Follow the installer instructions.
- Once launched, run the auto-configuration wizard (optional).
🔹 Step 2: Set Up Your Audio Devices
- Go to Settings > Audio.
- Set your Mic/Auxiliary Audio to your audio interface or USB mic.
- If you use backing tracks or system audio, set it up with desktop audio.
- Use monitoring (Settings > Audio > Advanced) to hear yourself while playing.
🔹 Step 3: Add Your Video Source
- In the main window, click the “+” under Sources, then Video Capture Device.
- Select your webcam or DSLR capture device.
- Adjust resolution and FPS to match your camera’s quality.
🔹 Step 4: Configure Your Audio Levels
- Use the Audio Mixer in OBS to balance mic, instruments, and system sounds.
- Make sure levels stay in the green to yellow range—avoid clipping (red).
- Click the gear icon to apply filters like noise gate or compressor if needed.
🎚️ Need better sound from the start? Check out our 2025 guide to the best audio interfaces for live music streaming to find the right gear for your setup.
🔹 Step 5: Build Scenes for Your Stream
Create separate scenes for:
- Performance camera
- Break screen / intermission
- Close-up / instrument cam
- Overlay with name or social handles
You can switch between scenes during your stream using hotkeys or a Stream Deck.
🔹 Step 6: Add Visuals and Overlays
- Import PNG logos, lower thirds, or animated overlays.
- Use Browser Source to add live chat or alerts.
- Keep your layout clean—focus on you and your performance.
🔹 Step 7: Connect Your Streaming Platform
- Go to Settings > Stream and choose your service (YouTube, Twitch, etc.).
- Enter your stream key (found in your account dashboard).
- Click Start Streaming in OBS when you’re ready to go live.
Optional: Enhance Your Stream Like a Pro
- Use Scenes for Transitions: Add fade-ins, cutaways, or intros.
- Add Background Audio: Ambient loops or backing tracks for intros.
- Multi-Cam Setup: Add second webcam for close-up shots or audience view.
- OBS Plugins: Install VST plugins for better audio, or tools like Spectralizer for audio visualizations.
Top Tips for Streaming Music with OBS
- Do a test stream (private or unlisted) to check sound and layout
- Use wired internet (Ethernet) for a stable stream
- Lower OBS output resolution if you experience lag (720p is often enough)
- Use hotkeys for smooth transitions between scenes
- Record your stream in OBS for repurposing on YouTube or socials
credit to Justin Brown – Primal Video
FAQ: OBS for Live Music Streaming
Q: Is OBS good for live music streaming?
A: Yes! It offers professional-grade control over video and audio for free.
Q: Can I use OBS with a phone?
A: OBS is desktop-only, but you can use tools like DroidCam or NDI to stream phone video into OBS.
Q: How do I get better audio for live music on OBS?
A: Use a quality mic, an audio interface, and apply filters like compression, EQ, and noise suppression.
Q: Can I use backing tracks or DAW audio in OBS?
A: Yes—use audio routing tools like VoiceMeeter (Windows) or Loopback (Mac) to send DAW audio into OBS.
Final Thoughts
With the right setup, OBS can help you deliver stunning live music performances that look and sound professional. This guide should give you the confidence to go live and connect with fans like never before. Start with a simple setup, and upgrade as you grow—your audience will thank you